

Champagne towers are the epitome of elegance and celebration. These stunning displays not only add a touch of sophistication to any event but also create a memorable experience for guests. Whether it’s a wedding, a milestone birthday, or a corporate gala, a champagne tower can elevate the atmosphere and become the highlight of the evening. In this guide, we’ll explore everything you need to know about champagne towers, from their history to step-by-step instructions on creating your own.
The History of Champagne Towers
Champagne towers have a rich history, originating in the early 20th century during the opulent era of the Roaring Twenties. They became a symbol of luxury and celebration, often seen at glamorous parties and high-society gatherings. The concept is simple yet spectacular: a pyramid of champagne glasses, with the top glass being filled and the champagne cascading down to fill the glasses below. This mesmerizing display of cascading bubbles has stood the test of time, continuing to enchant party-goers today.
Why Choose a Champagne Tower for Your Event?
1. Visual Impact: The sight of a champagne tower is undeniably striking. It’s a statement piece that instantly grabs attention and adds a wow factor to your event.
2. Interactive Experience: Guests love the interactive element of a champagne tower. Watching the champagne flow from one glass to another is both captivating and entertaining.
3. Photo Opportunities: A champagne tower provides a perfect backdrop for photographs, ensuring that your event is captured in style.
4. Luxurious Appeal: Nothing says luxury quite like a tower of champagne. It’s a timeless symbol of celebration and indulgence.
How to Create Your Own Champagne Tower
Creating a champagne tower may seem daunting, but with careful planning and execution, it can be a seamless addition to your event. Here’s a step-by-step guide:
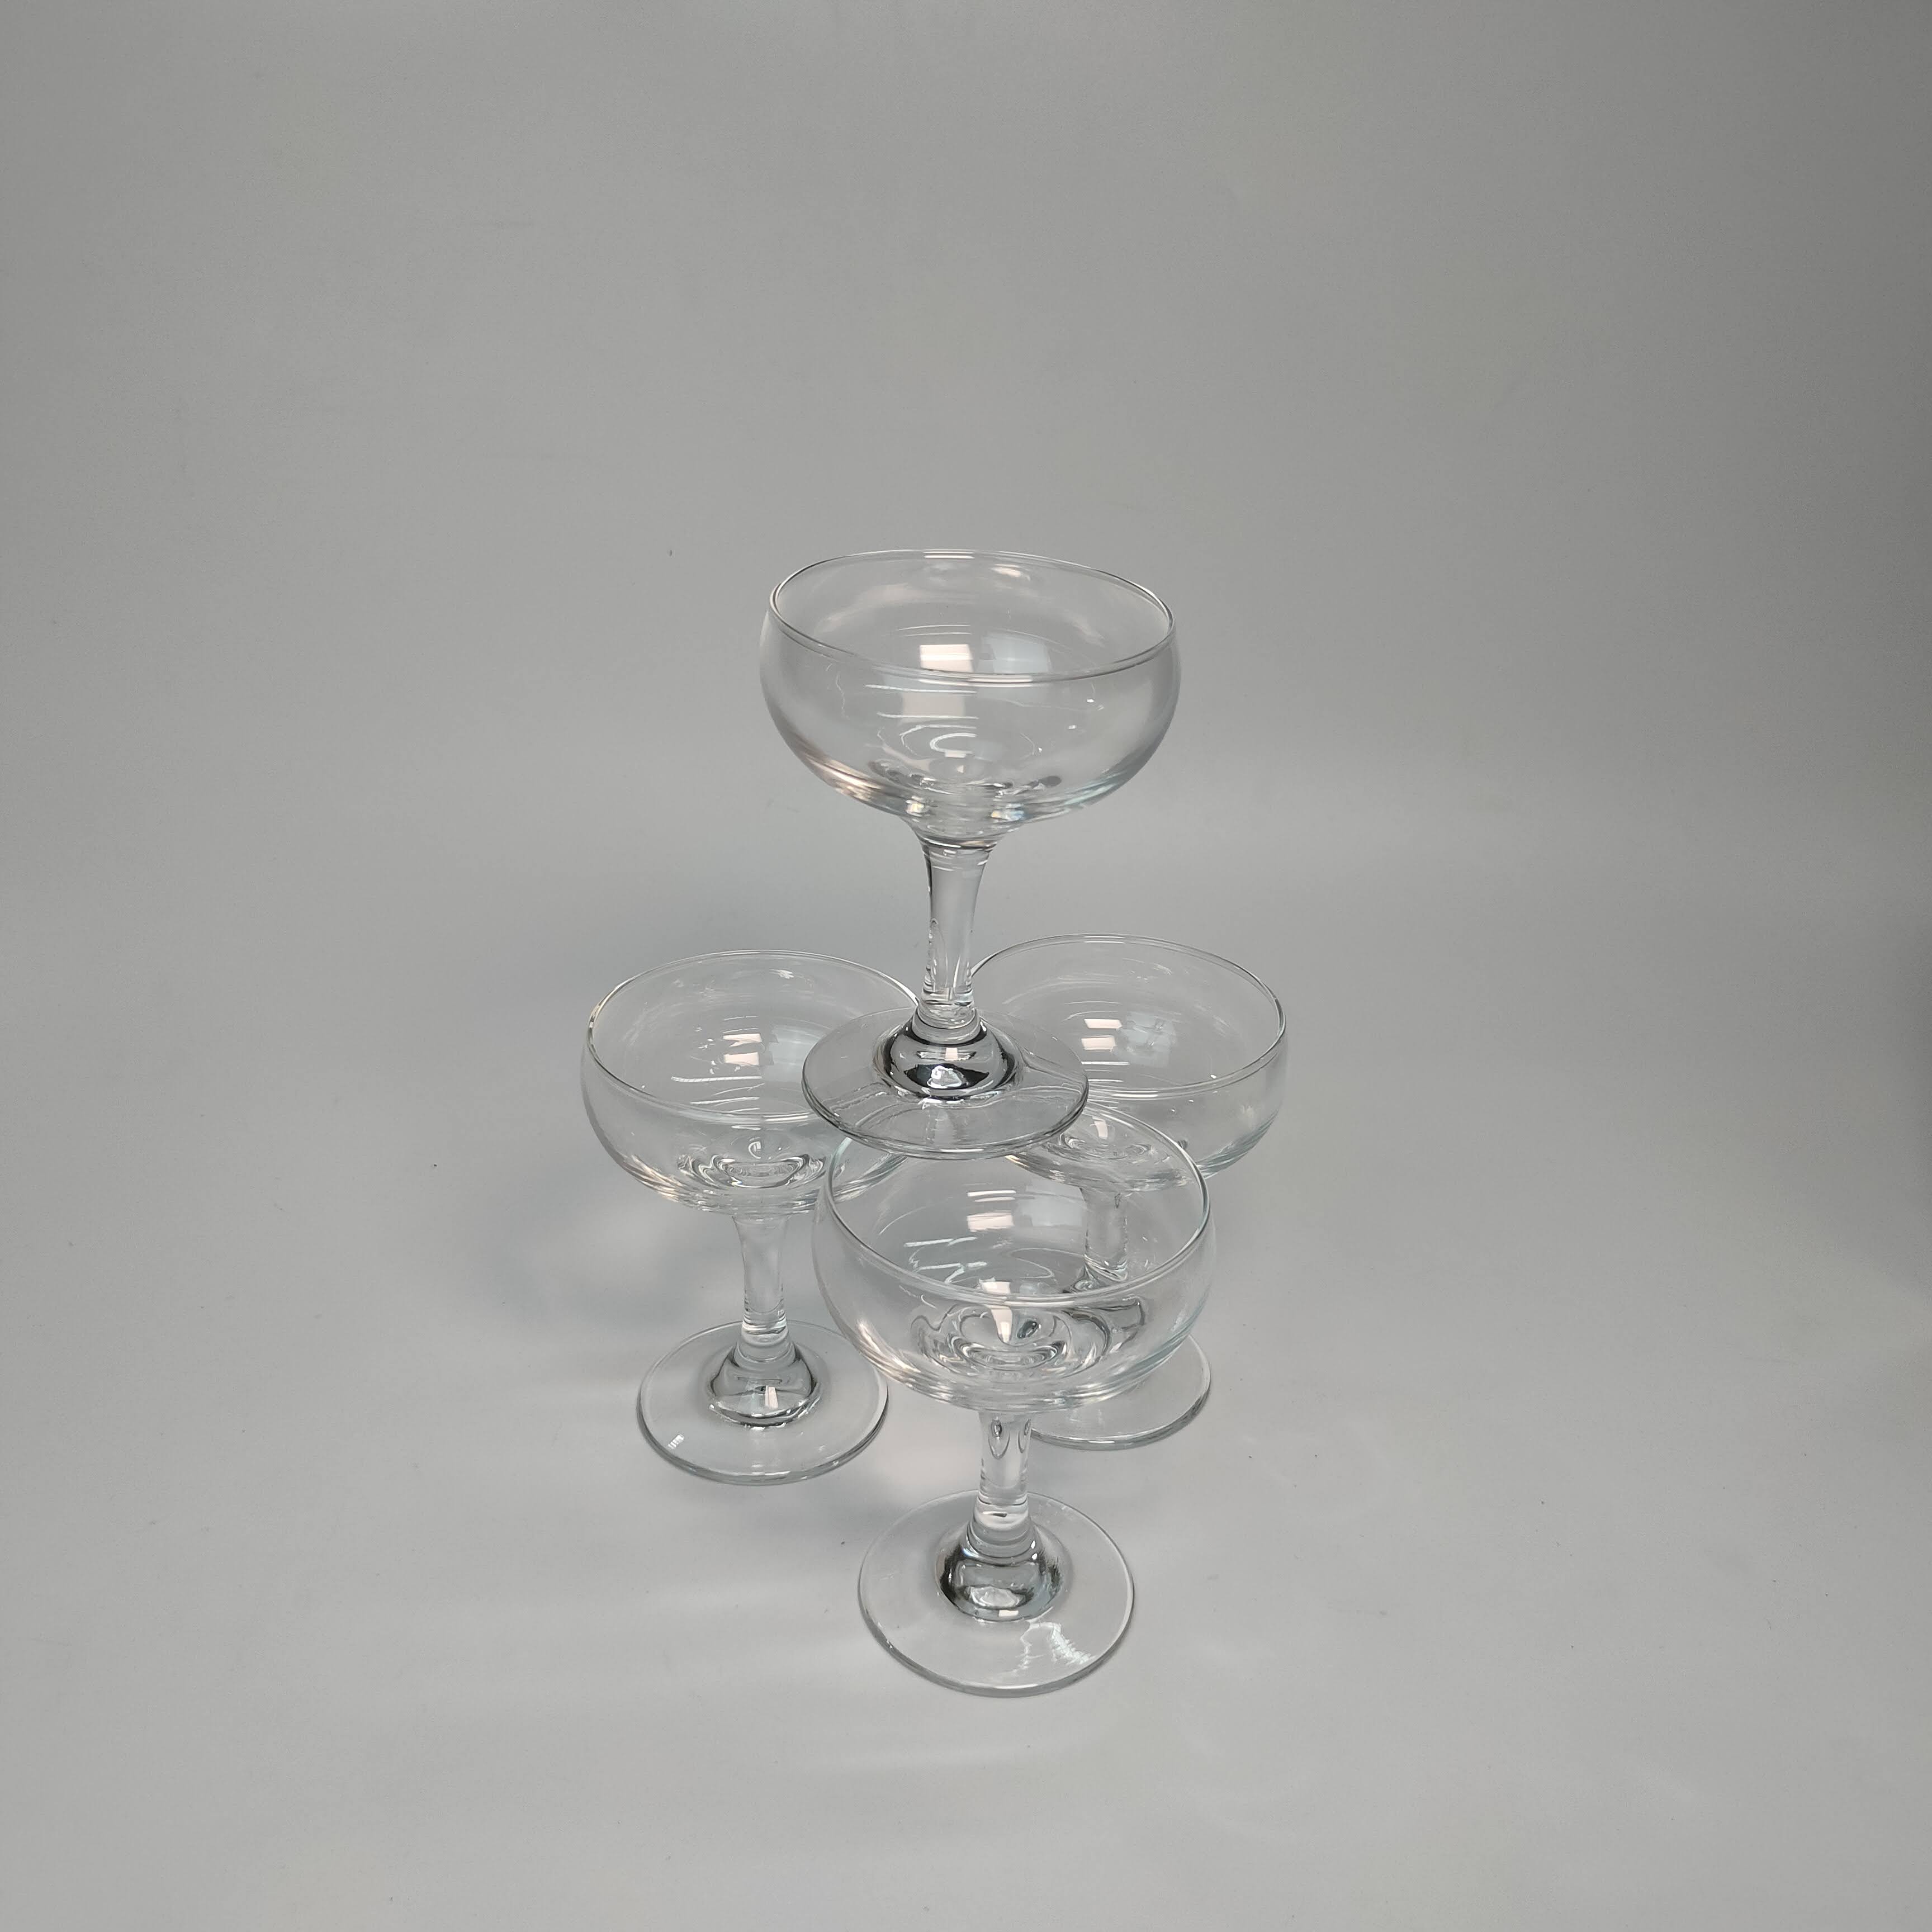
Step 1: Choose the Right Glasses Select coupe glasses for a traditional look, or go for flutes for a modern twist. Ensure all glasses are identical to maintain stability.
Step 2: Find a Stable Surface Set up your tower on a flat, stable surface. A sturdy table is ideal. Make sure it’s in a central location where guests can easily see and access it.
Step 3: Build the Base Layer Start by arranging the base layer of glasses in a tight grid formation. The number of glasses in the base layer will determine the height of your tower. For example, a base of 16 glasses (4×4) will allow you to build a 4-tier tower.
Step 4: Layer Up Continue adding layers, reducing the number of glasses in each successive layer. Place each glass carefully so that it rests securely on the rims of the glasses below.
Step 5: Pour the Champagne Once your tower is built, it’s time to pour the champagne. Begin with the top glass and pour slowly, allowing the champagne to cascade down into the glasses below. It’s crucial to pour gently to avoid overflow and ensure an even distribution.
Step 6: Enjoy! Invite your guests to enjoy the champagne directly from the tower or serve them individually filled glasses from the tower.
Tips for a Successful Champagne Tower
- Choose Quality Champagne: While it might be tempting to cut costs, the quality of the champagne can make a significant difference in taste and experience.
- Practice Makes Perfect: If you’re creating a champagne tower for the first time, consider doing a practice run to ensure everything goes smoothly on the day of the event.
- Safety First: Ensure the tower is set up in an area where it won’t be accidentally knocked over, and always pour the champagne slowly to maintain stability.
- Enhance with Decor: Consider adding decorative elements like flowers or fairy lights around the base of the tower to enhance its visual appeal.
A champagne tower is more than just a beverage display; it’s a statement of celebration, elegance, and luxury. By following this guide, you can create a breathtaking champagne tower that will leave a lasting impression on your guests. Whether you’re hosting an intimate gathering or a grand event, a champagne tower is the perfect way to toast to life’s special moments.
For more tips and event inspiration, follow our blog and stay updated on the latest trends in event planning and decor. Cheers to your next unforgettable celebration!

Leave a comment